


How to Finish a Basement From Floor to Ceiling: A Comprehensive Guide
Your ultimate guide to finishing your basement from floor to ceiling

Turning your basement into a functional and inviting space is a worthwhile investment that requires some advanced DIY skills. However, if you're not experienced or dealing with complex obstacles, hiring a professional, like Grand Rapids Basement Pros, is recommended for a successful project. In this guide, we'll take you through the process of transforming your basement from floor to ceiling.
Getting Your Basement Ready for Transformation
Let's kick off the journey to transform your basement into a cozy and functional space with a bit of cleanup. Say goodbye to unnecessary items, debris, or furniture that's just taking up space. Our goal is to create a clean and organized workspace for your exciting basement project.
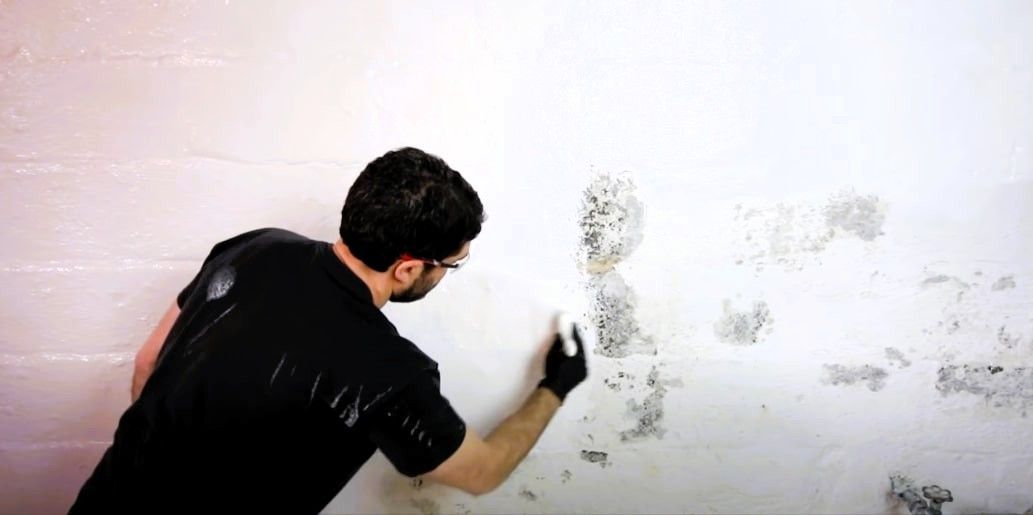
Dealing with moisture is crucial for the success of your basement finishing adventure. Before jumping into the transformation, let's start by conducting a thorough moisture test to
identify any leaks or water-related issues. Once we pinpoint the concerns, we'll take direct action to address them:
- Redirect Downspouts: Make sure downspouts guide water away from the foundation to prevent water seeping into your basement.
- Regrade the Lawn: Slope the ground away from the foundation for proper drainage and to avoid water buildup.
- Waterproof Coating or Paint: Apply a waterproof coating or paint on the basement walls to create a barrier against moisture.
- Add a Drain or Sump Pump: Consider installing a drain or sump pump system to manage excess water and prevent flooding.
Now that we've tackled moisture concerns, let's shift our focus to local building permits and codes. Familiarize yourself with what's required for finishing a basement in your area. Make sure to obtain the necessary permits and ensure compliance with safety regulations before diving into the renovation.
Before you roll up your sleeves, make a checklist of materials and tools needed for the project. This could include insulation, drywall, framing lumber, flooring materials, ceiling materials, screws, nails, adhesives, and appropriate safety equipment.
By taking these steps, you're not only prepping your basement for a fantastic makeover but also ensuring a comfortable and safe space for your home. Let the transformation begin!
Finishing the Basement Walls: Transforming Your Basement Walls into a Cozy Space
Creating a comfortable and energy-efficient space in your basement involves a few key steps. Let's break down the process in a way that's easy to understand for homeowners:
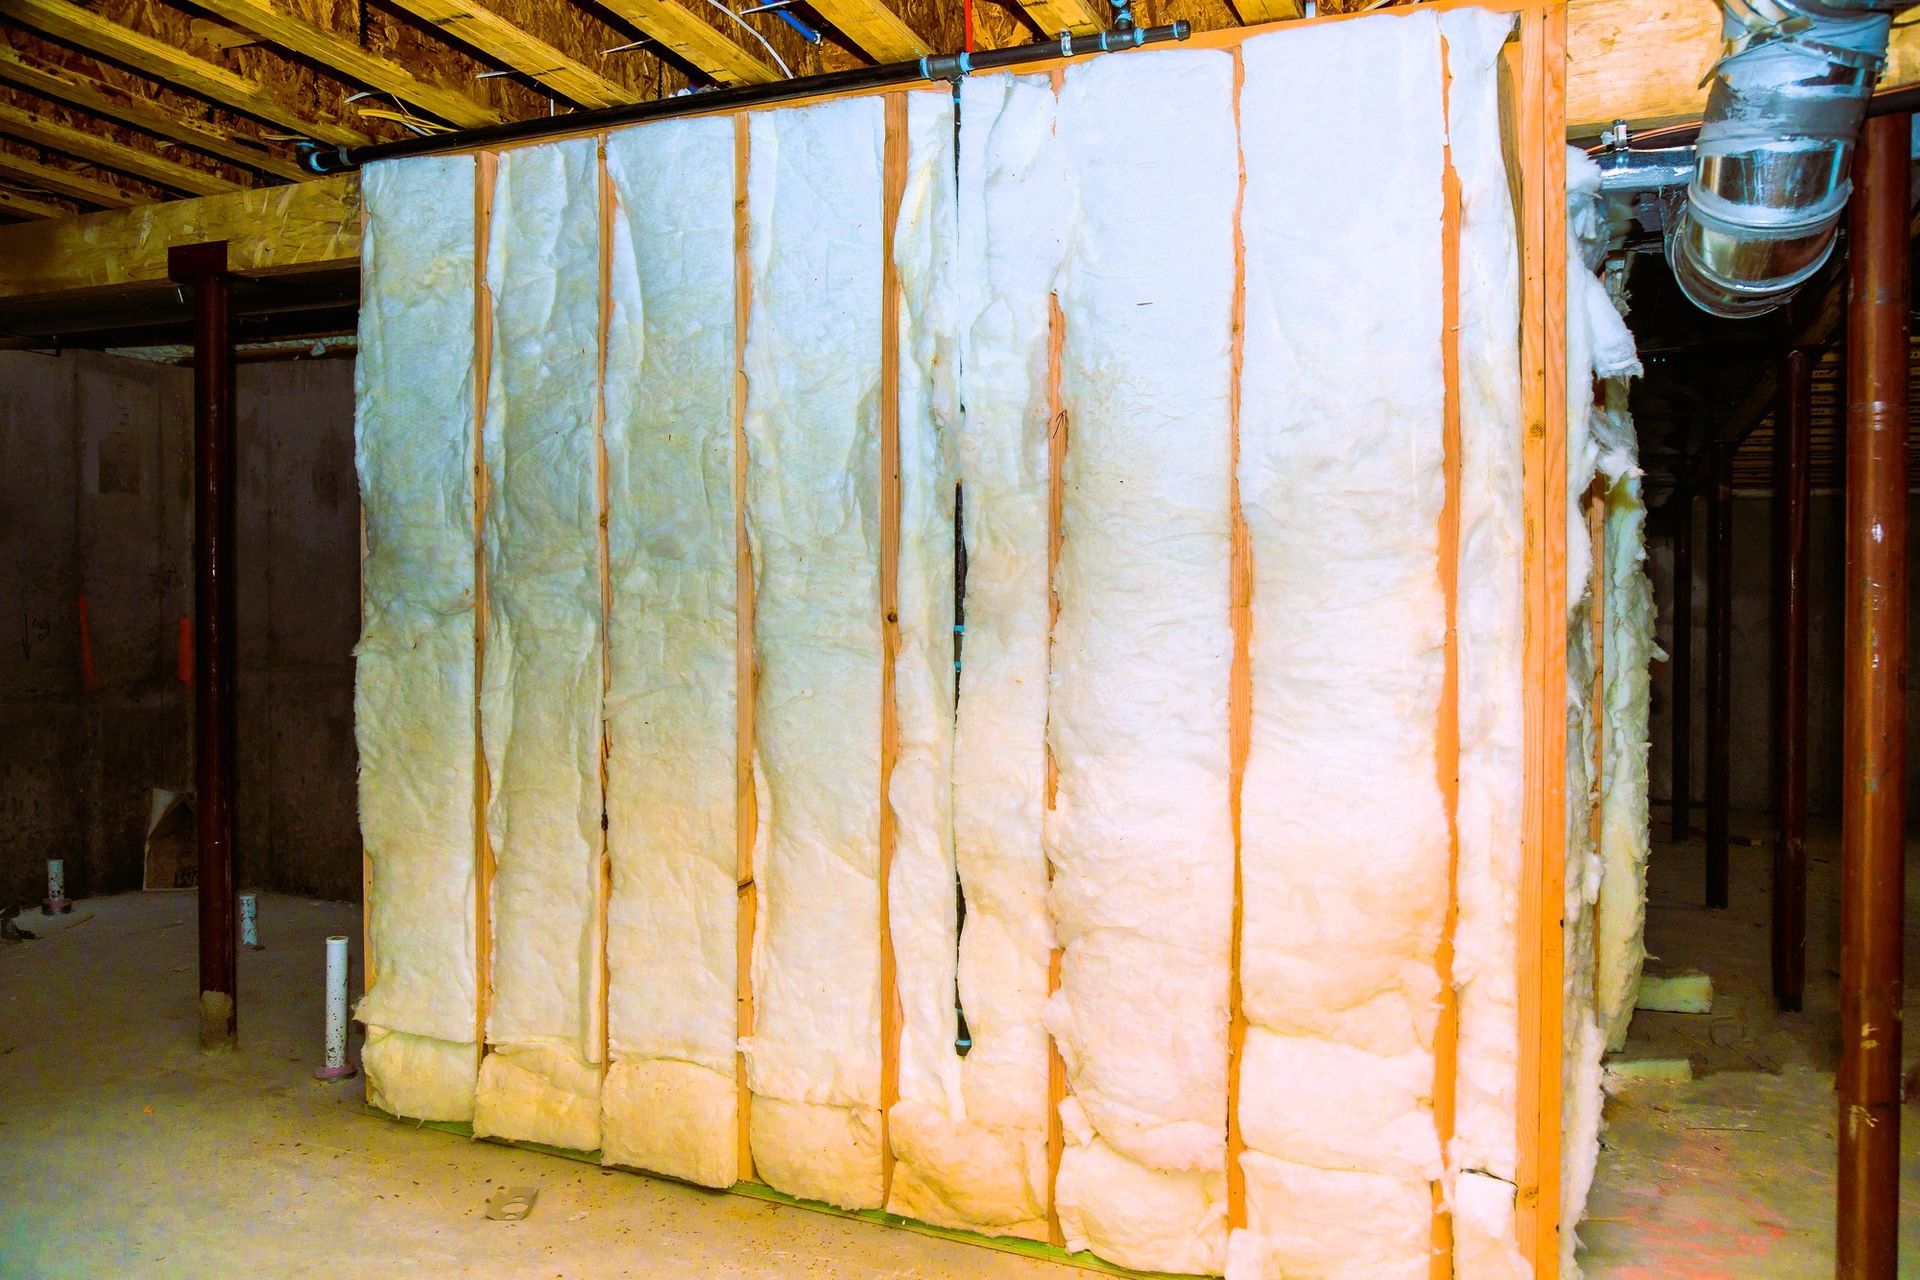
Step 1: Insulation Matters
Proper insulation is crucial for maintaining a comfortable temperature and saving on energy costs. Here's what you need to do:
- Cut and Attach Foam Insulation: Measure and cut foam insulation to fit your walls, then attach it using adhesive or construction adhesive.
- Seal Seams and Gaps: Make sure to seal any gaps or seams in the insulation with insulation tape or spray foam. This step enhances energy efficiency, keeping your basement cozy.
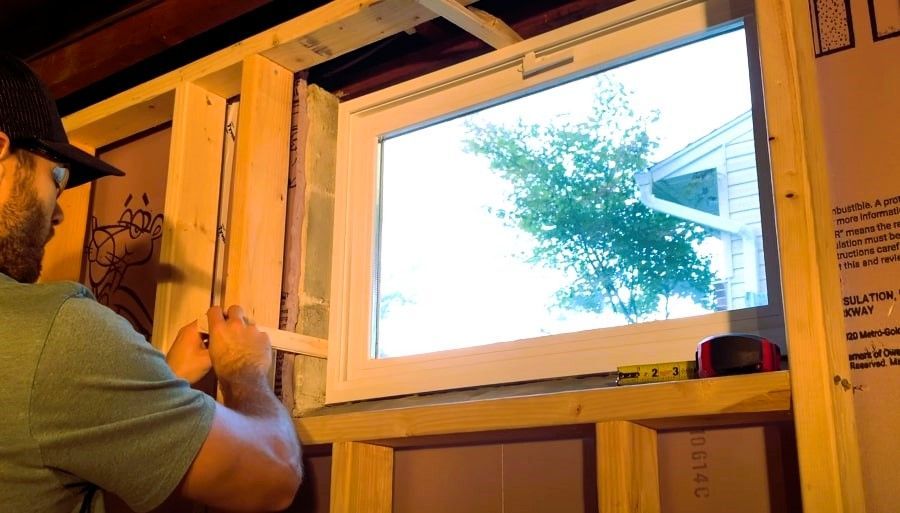
Step 2: Build a Solid Wall Structure
Creating a sturdy framework for your finished walls is the next important step. Here's how you can do it:
- Install Blocking for Parallel Walls: Provide extra support and stability by installing blocking between parallel walls.
- Draw Alignment Lines and Assemble the Wall: Use a chalk line to mark alignment lines on the floor and ceiling. Assemble the wall frame according to your desired layout, ensuring it's plumb and square.
- Secure the Wall Frame: Attach the bottom plate to the basement floor using concrete screws or anchors. Similarly, secure the top plate to the ceiling joists or the floor above for a solid connection.
Step 3: Finish with Drywall
Now that you have a well-insulated and framed space, it's time to finish the look with drywall. Follow these steps:
- Measure and Trim the Drywall: Measure your walls and cut the drywall accordingly using a utility knife or drywall saw.
- Secure Drywall to Studs: Attach the drywall sheets to the wall studs using drywall screws or nails, ensuring a snug fit.
- Cover Seams and Screw Heads: Apply joint compound to cover the seams between drywall sheets and screw heads. Use a drywall knife to smooth the compound for a seamless surface.
By following these homeowner-friendly steps, you can transform your basement into a welcoming and energy-efficient space that adds value to your home.
Finishing the Basement Floor: Enhancing Your Basement with the Perfect Flooring
When it comes to finishing your basement floor, making the right flooring choice is key to creating a comfortable and stylish space. Consider your preferences, budget, and the specific needs of the area as you explore the following options:
- Vinyl Flooring: A popular pick for basements, vinyl stands out for its durability, resistance to moisture, and a diverse range of styles and designs.
- Tiles: Ceramic or porcelain tiles offer an excellent solution, being water-resistant, easy to clean, and available in various colors and patterns.
- Carpet Tiles: For warmth, comfort, and sound insulation, carpet tiles are a fantastic option. They're also a breeze to install and replace if the need arises.
Now, let's dive into the steps to achieve a stable and cozy basement floor:
Step 1: Lay Down Insulation
Start by placing a layer of rigid foam insulation on the basement floor. This not only provides thermal insulation but also acts as a moisture barrier, keeping your space comfortable and dry.
Step 2: Install Plywood Subfloor
Lay plywood sheets over the insulation, ensuring they are properly aligned and securely fastened. This step creates a stable foundation for your chosen flooring, enhancing both comfort and durability.
Step 3: Follow Flooring Installation Instructions
Depending on the flooring material you've selected, follow the manufacturer's instructions to install it properly. This may involve adhesive application, interlocking tiles, or using a floating installation method. Paying attention to these guidelines ensures that your flooring not only looks great but also stands the test of time.
By combining the right flooring choice with proper installation techniques, you can turn your basement into a welcoming space that suits your style and meets the unique demands of the area.
Finishing the Basement Ceiling: Elevate Your Basement with a Stylish Ceiling
Choosing the right ceiling for your finished basement goes a long way in enhancing both its appearance and functionality. Here are two popular options to consider:
Drop Ceiling:
A drop ceiling, also known as a suspended ceiling, features a grid system with removable tiles. This design makes it easy to access hidden utilities like electrical wires and plumbing above the ceiling.
Drywall Ceiling:
For a seamless and polished look, opt for a drywall ceiling. It provides a clean finish and is a more permanent solution compared to a drop ceiling.
Installation Steps
For a Drop Ceiling:
- Suspend the main runners of the ceiling grid from the existing ceiling joists.
- Insert and secure the cross tees into the grid.
- Place the ceiling tiles, ensuring a snug fit within the grid.
For a Drywall Ceiling:
- Measure and cut the drywall sheets to fit the ceiling.
- Secure the sheets to the ceiling joists using drywall screws.
- If needed, create an access hole for future maintenance.
Embarking on this step-by-step guide allows you to effortlessly transform your basement into a
fully finished space, covering everything from the floor to the ceiling. If DIY isn't your strong suit or you encounter challenges, consider seeking assistance from professionals like Grand Rapids Basement Pros for a polished and high-quality outcome.
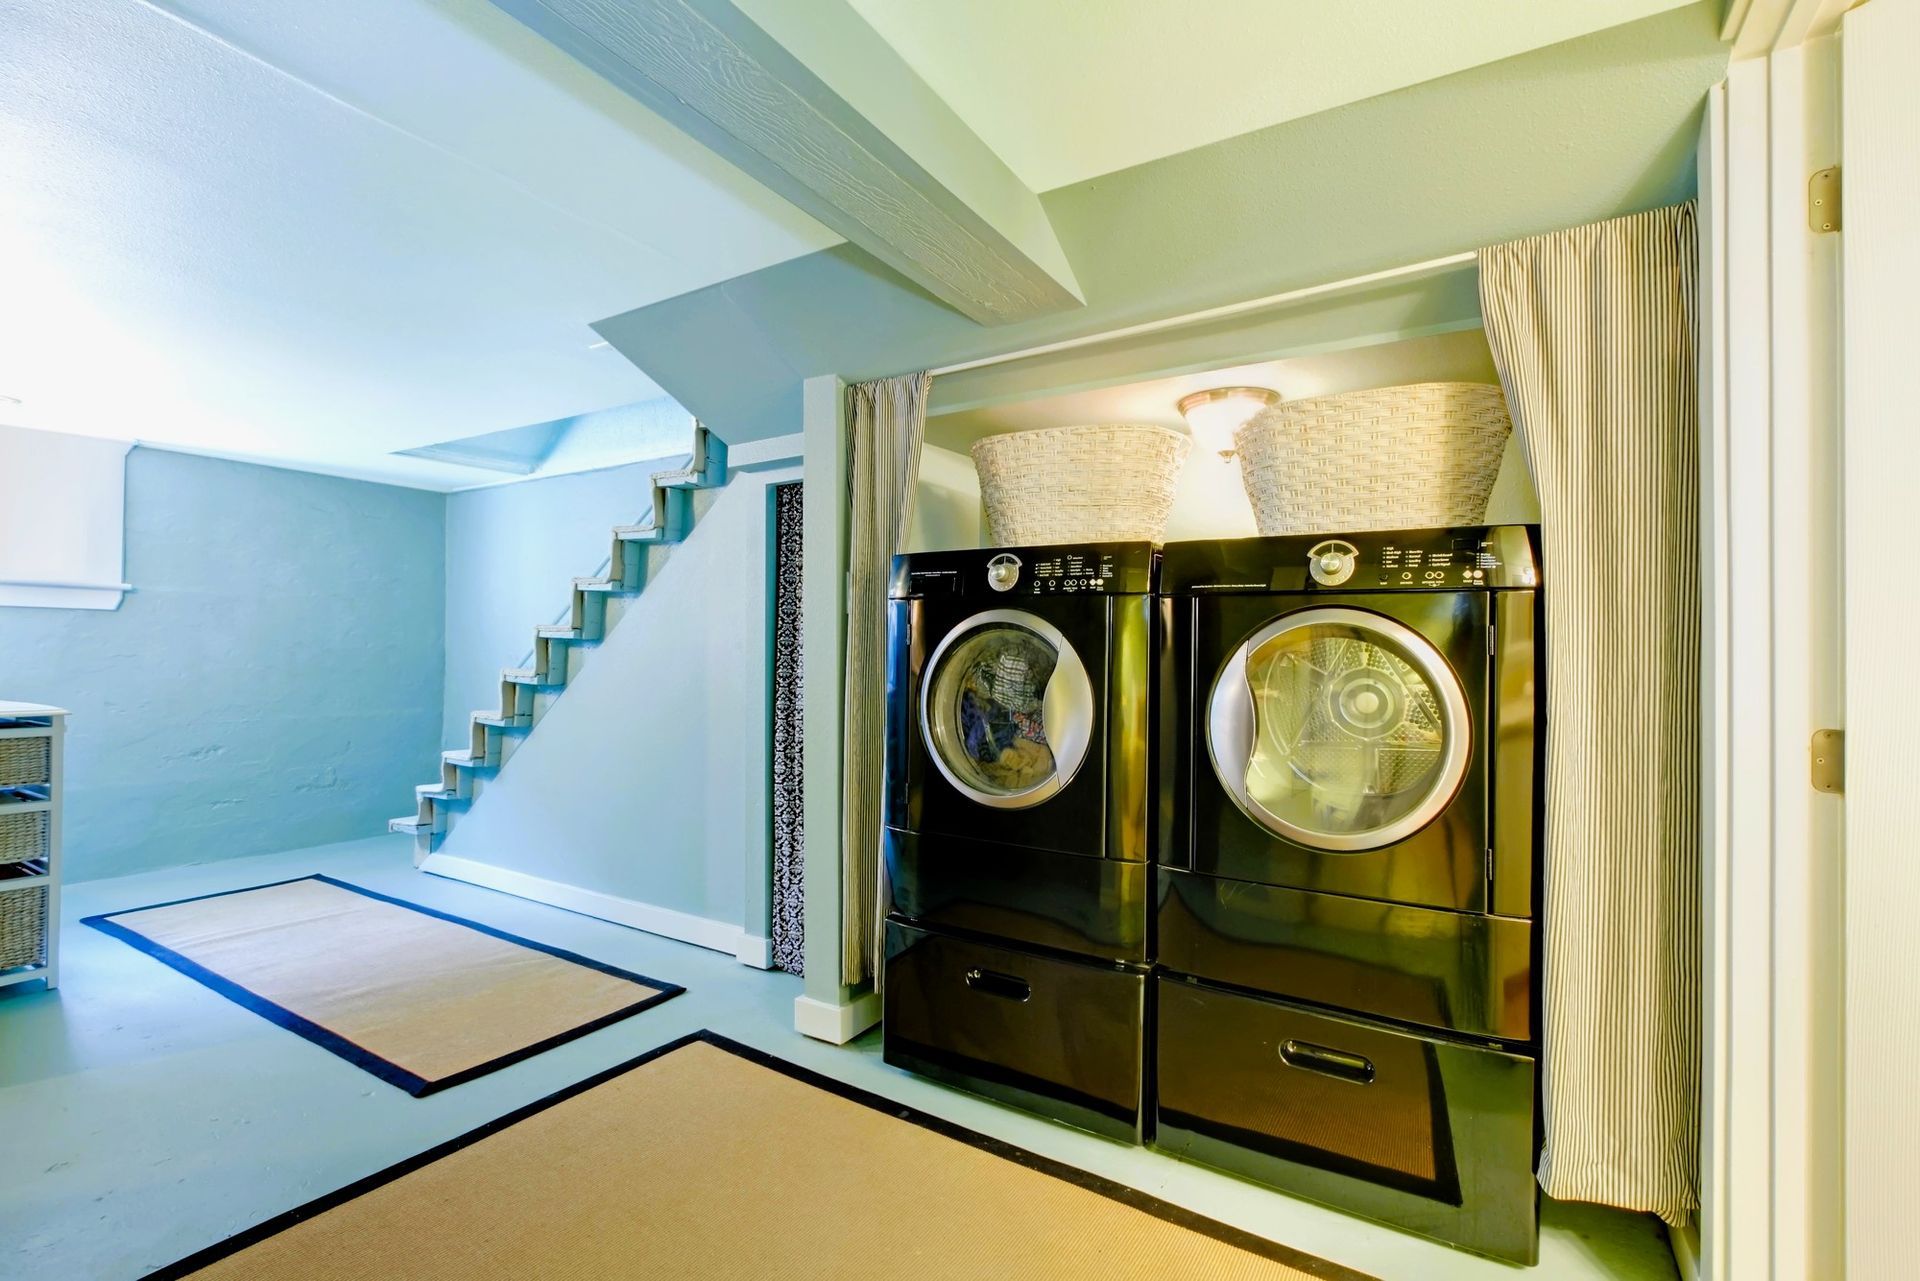
Once the renovation is complete, the exciting part begins – deciding how to use and decorate your newfound space. Whether you envision a home theater, a vibrant game room, or a welcoming guest bedroom, a finished basement not only adds value to your home but also provides additional usable square footage.
Contact us today and get ready to personalize and enjoy the revamped space to the fullest!