


Basement Waterproofing Tips Before Your Renovation
Essential waterproofing steps before your basement renovation!
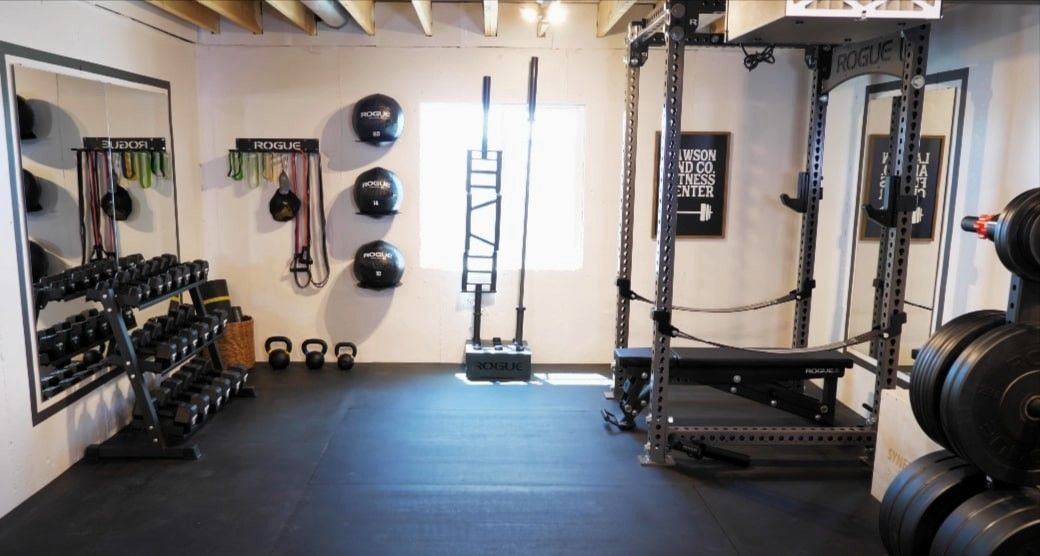
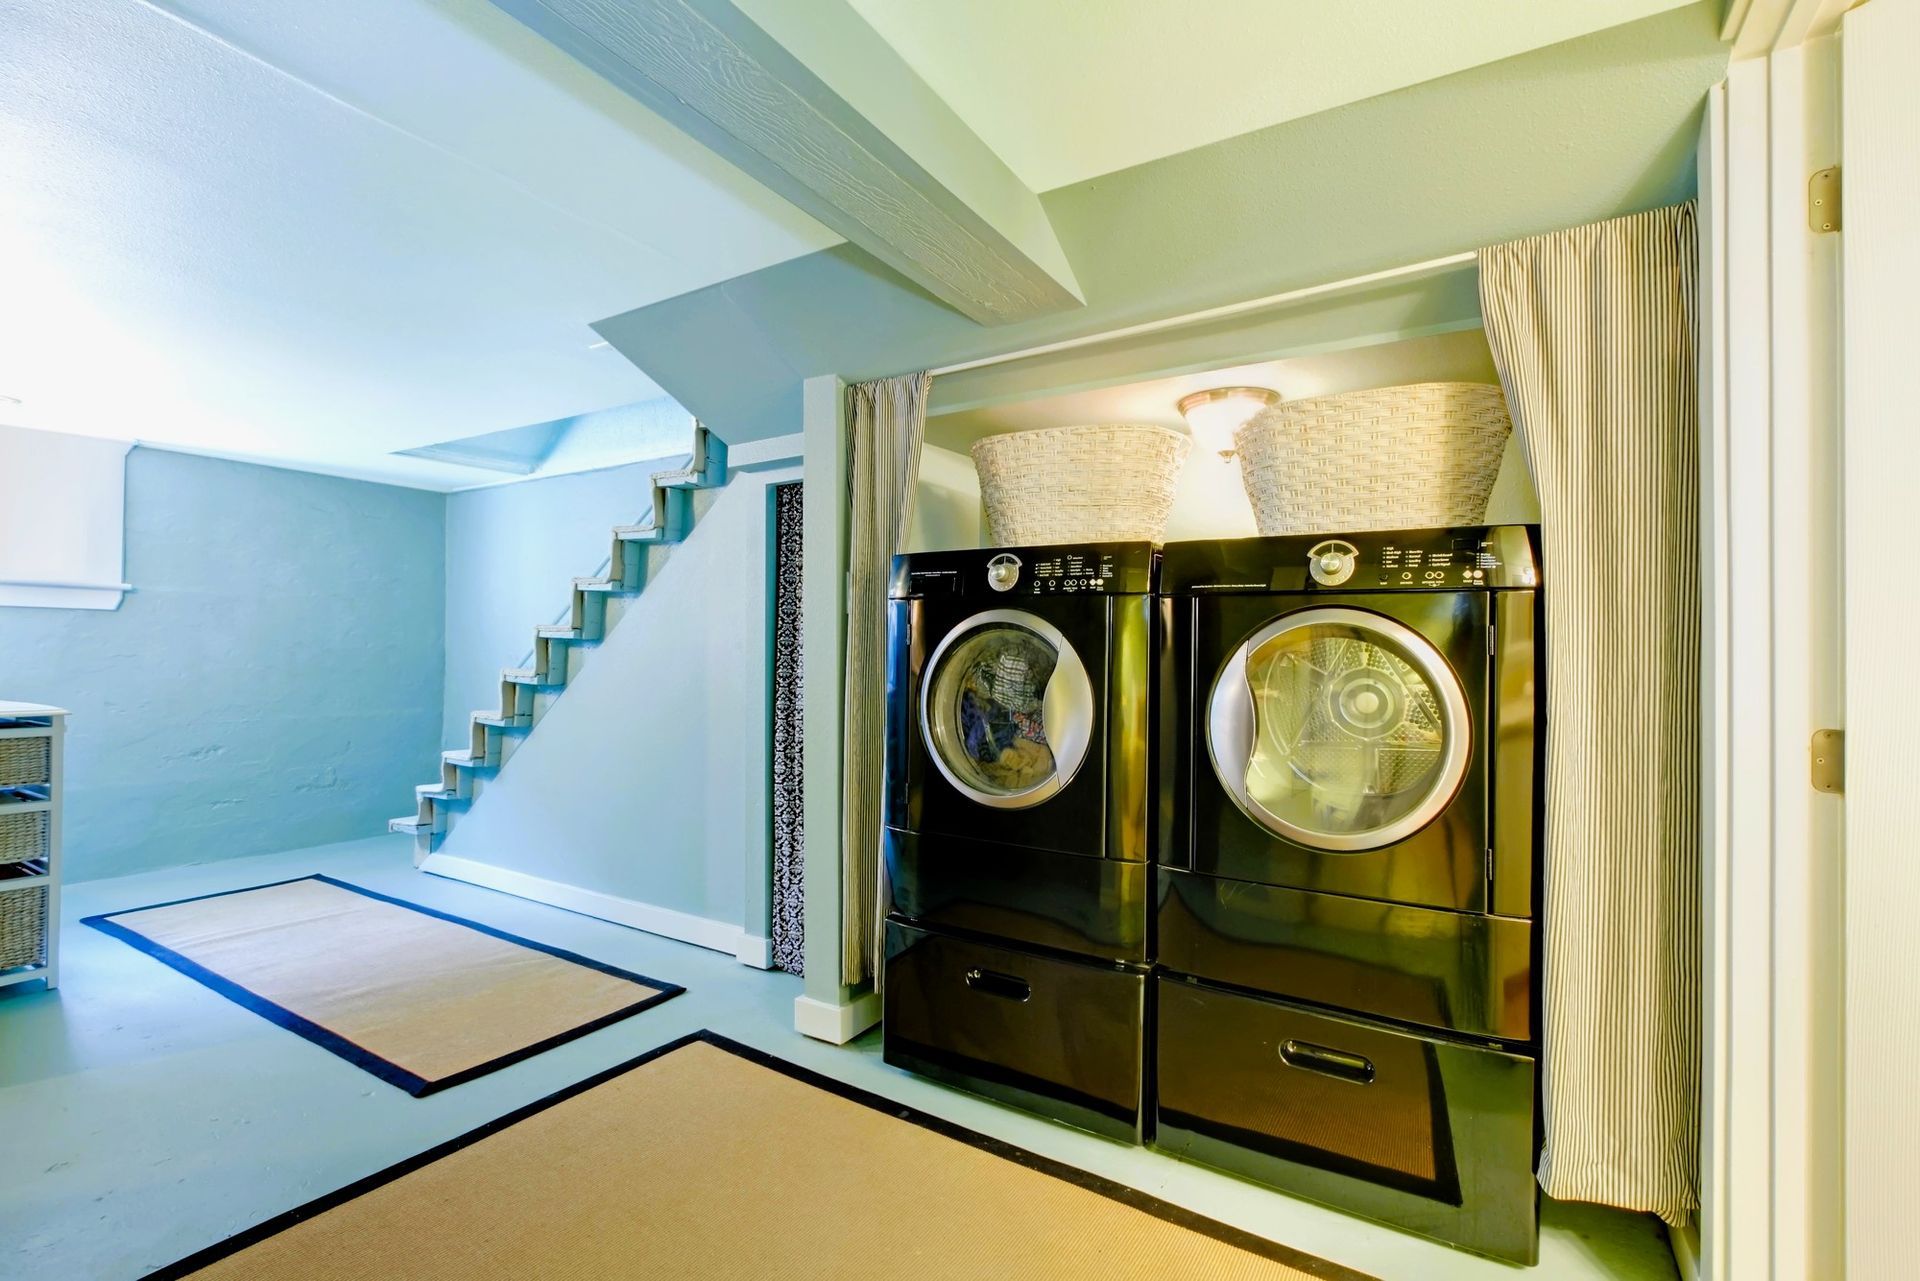
So, you’re ready to transform your basement into a cozy retreat, a home theater, or maybe even the ultimate home gym. But before you start picking out paint colors and flooring, there’s one thing you absolutely cannot ignore—waterproofing.
Basements and moisture go hand in hand, and if you don’t deal with it upfront, all the time and money you pour into your renovation could go down the drain—literally. Think leaks, mold, or even bigger issues like structural damage. The upside? Taking a few simple precautions now can spare you a lot of headaches later and leave you with a dry, stress-free space you can enjoy for years.
Here’s what you need to do before you even think about swinging a hammer.
1. Look for Warning Signs of Water Trouble
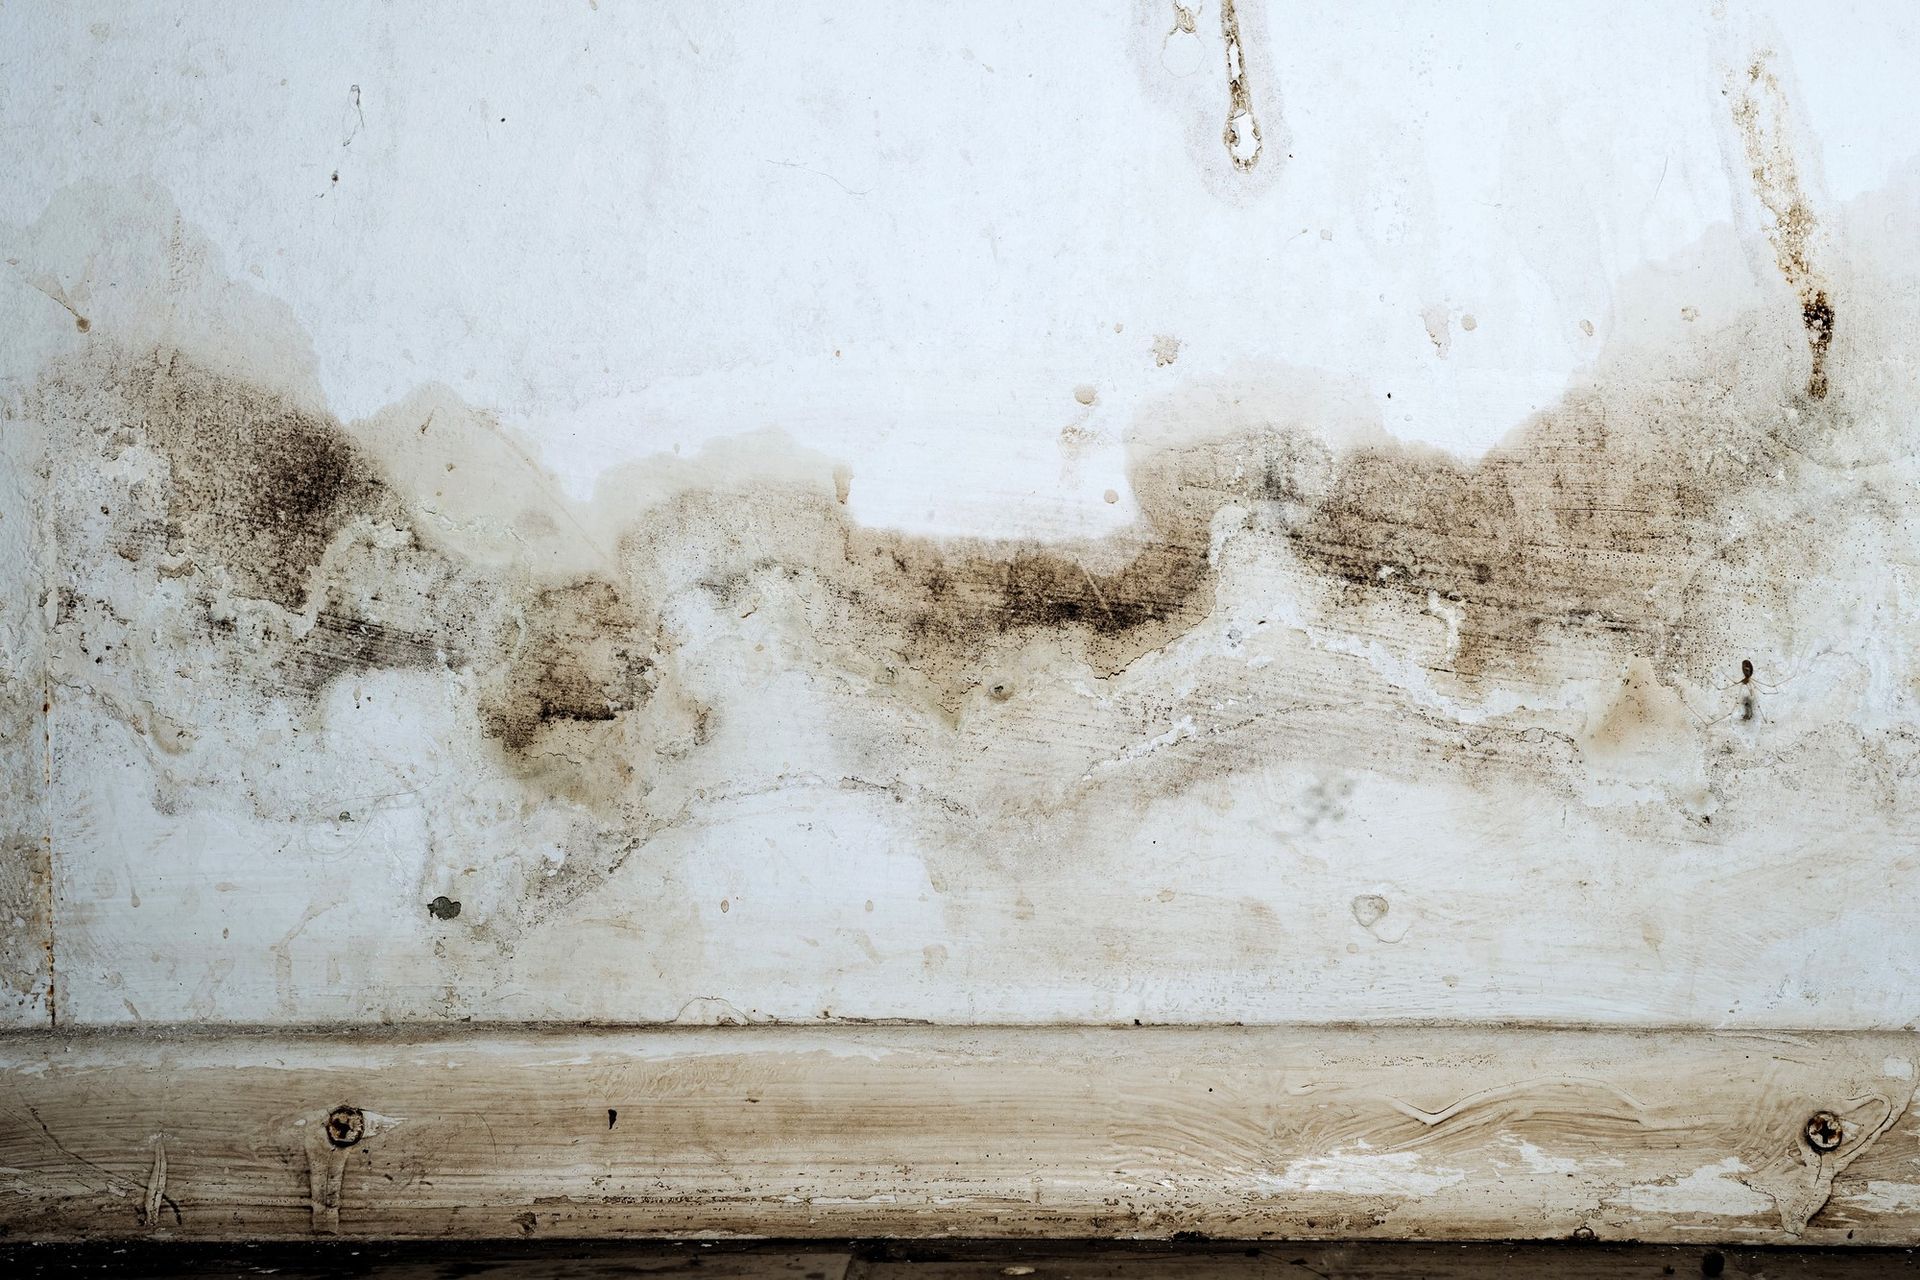
Before you dive into renovations, do a deep inspection of your basement. If there’s already moisture creeping in, you need to fix it before it turns into a full-blown disaster.
- Check for damp spots, stains, or mold – If you see discoloration on walls or floors, that’s a red flag. Even if it’s dry now, moisture could be lurking.
- Sniff around for musty odors – If your basement smells damp, it’s a sign moisture is present—even if you can’t see it yet.
- Inspect for cracks in the foundation – Even hairline cracks can let in water over time. Larger cracks? Those could signal bigger issues.
- Monitor humidity levels – If your basement always feels damp, grab a hygrometer (they’re cheap and easy to use) and check for high humidity.
Catching these issues before you start your renovation will save you from expensive surprises later.
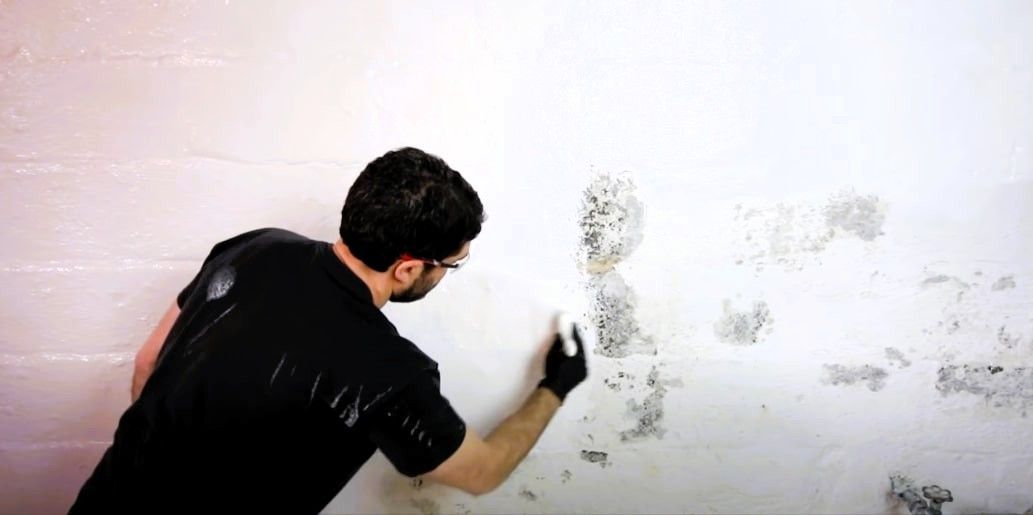
2. Fix Any Existing Damage—No Shortcuts
Spotting signs of water damage? Don’t brush them off. Covering it up without fixing the real issue is like slapping a bandage on a leaky pipe—it’s only a matter of time before it gets worse.
- Fix foundation cracks – Got small cracks? A bit of concrete sealant should do the trick. Bigger cracks? It’s worth bringing in a pro before it turns into a bigger headache.
- Get the space dry – Start by clearing out any standing water using a sump pump or shop vac. Once that’s done, grab some fans and dehumidifiers to fully dry the basement before sealing it up.
- Address outside drainage problems – If water is pooling around your foundation, check your gutters and downspouts. They should direct water at least six feet away from your home.
Handling these repairs now prevents you from dealing with a waterlogged basement later.
3. Get Serious About Drainage
Waterproofing isn’t just about dealing with leaks inside your home—it’s about stopping water from getting there in the first place. A good drainage system is your first line of defense against unwanted moisture down the road.
- Get a sump pump installed – If your basement tends to flood, this is a game-changer. It works by catching water and pumping it out before any damage can happen.
- Consider a French drain – This underground system moves water away from your foundation before it seeps into your basement.
- Professional drainage solutions – If your home has major water issues, bringing in a pro to design a drainage system could save you thousands in future repairs.
The goal? Keep water away from your foundation before it becomes a problem.
4. Use Waterproofing Products That Actually Work
Even with good drainage, your basement walls and floors could use a little extra help. The right waterproofing products can stop moisture from creeping in where it doesn’t belong.
- Basement waterproofing coatings – These coatings are made to keep your basement dry by forming a tough, protective shield against moisture.
- Epoxy sealants – A go-to solution for filling tiny cracks and pores in concrete, keeping leaks at bay with ease.
- Polyurethane membranes – Designed to flex with temperature shifts, these coatings are perfect for reliable, long-lasting waterproofing.
Applying these before your renovation ensures that your basement stays dry after it’s finished.
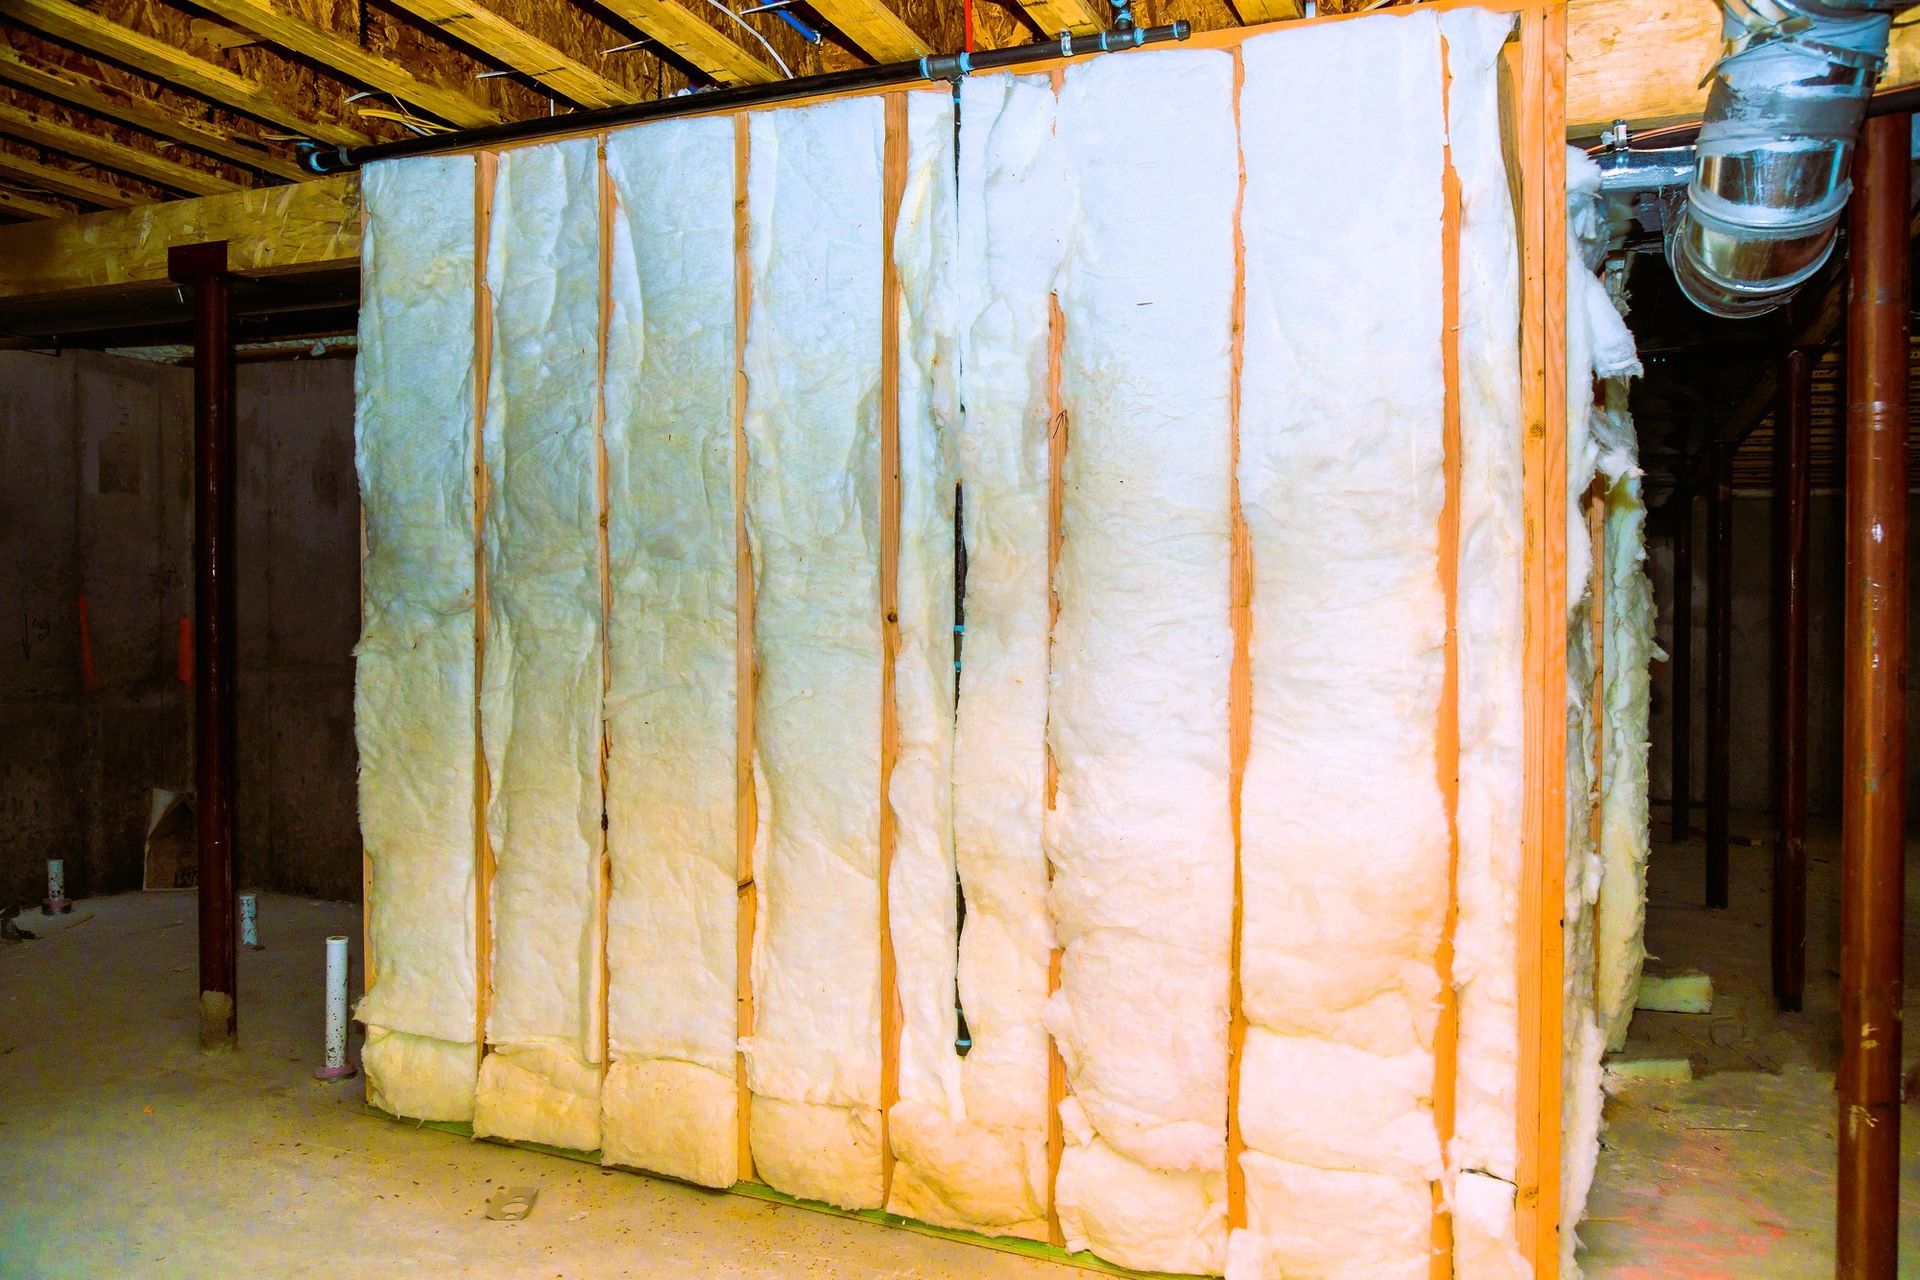
5. Don’t Skip the Vapor Barrier
Even if your basement is sealed and waterproofed, ground moisture can still creep in. That’s where a vapor barrier comes in.
- What it does – A vapor barrier blocks moisture from coming up through floors and walls, adding an extra layer of protection.
- Where to install it – Under flooring materials like wood or carpet and behind drywall before finishing walls.
- Why it matters – It helps prevent humidity, mold growth, and warping—especially if you’re using materials that don’t do well with moisture.
Think of it as insurance for your renovation—an easy step now that prevents big headaches later.
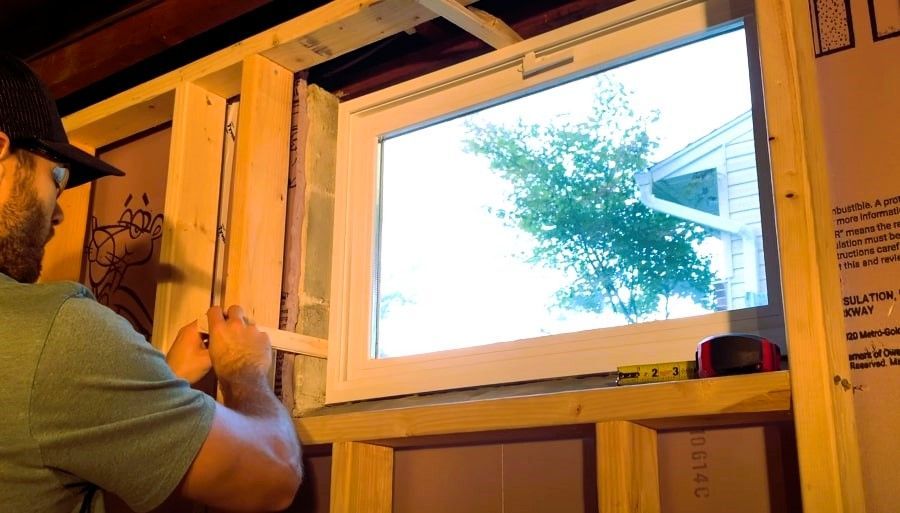
6. Keep the Air Moving with Proper Ventilation
Even the best waterproofing can’t prevent every bit of moisture. That’s why ventilation is just as important as sealing up leaks.
- Install ventilation fans – These keep air circulating and help reduce moisture buildup.
- Use a dehumidifier – Especially in damp climates, a good dehumidifier can keep humidity in check.
- Increase airflow – If you have windows, open them when possible. If not, consider adding vents to improve circulation.
A well-ventilated basement stays dry, comfortable, and mold-free for the long haul.
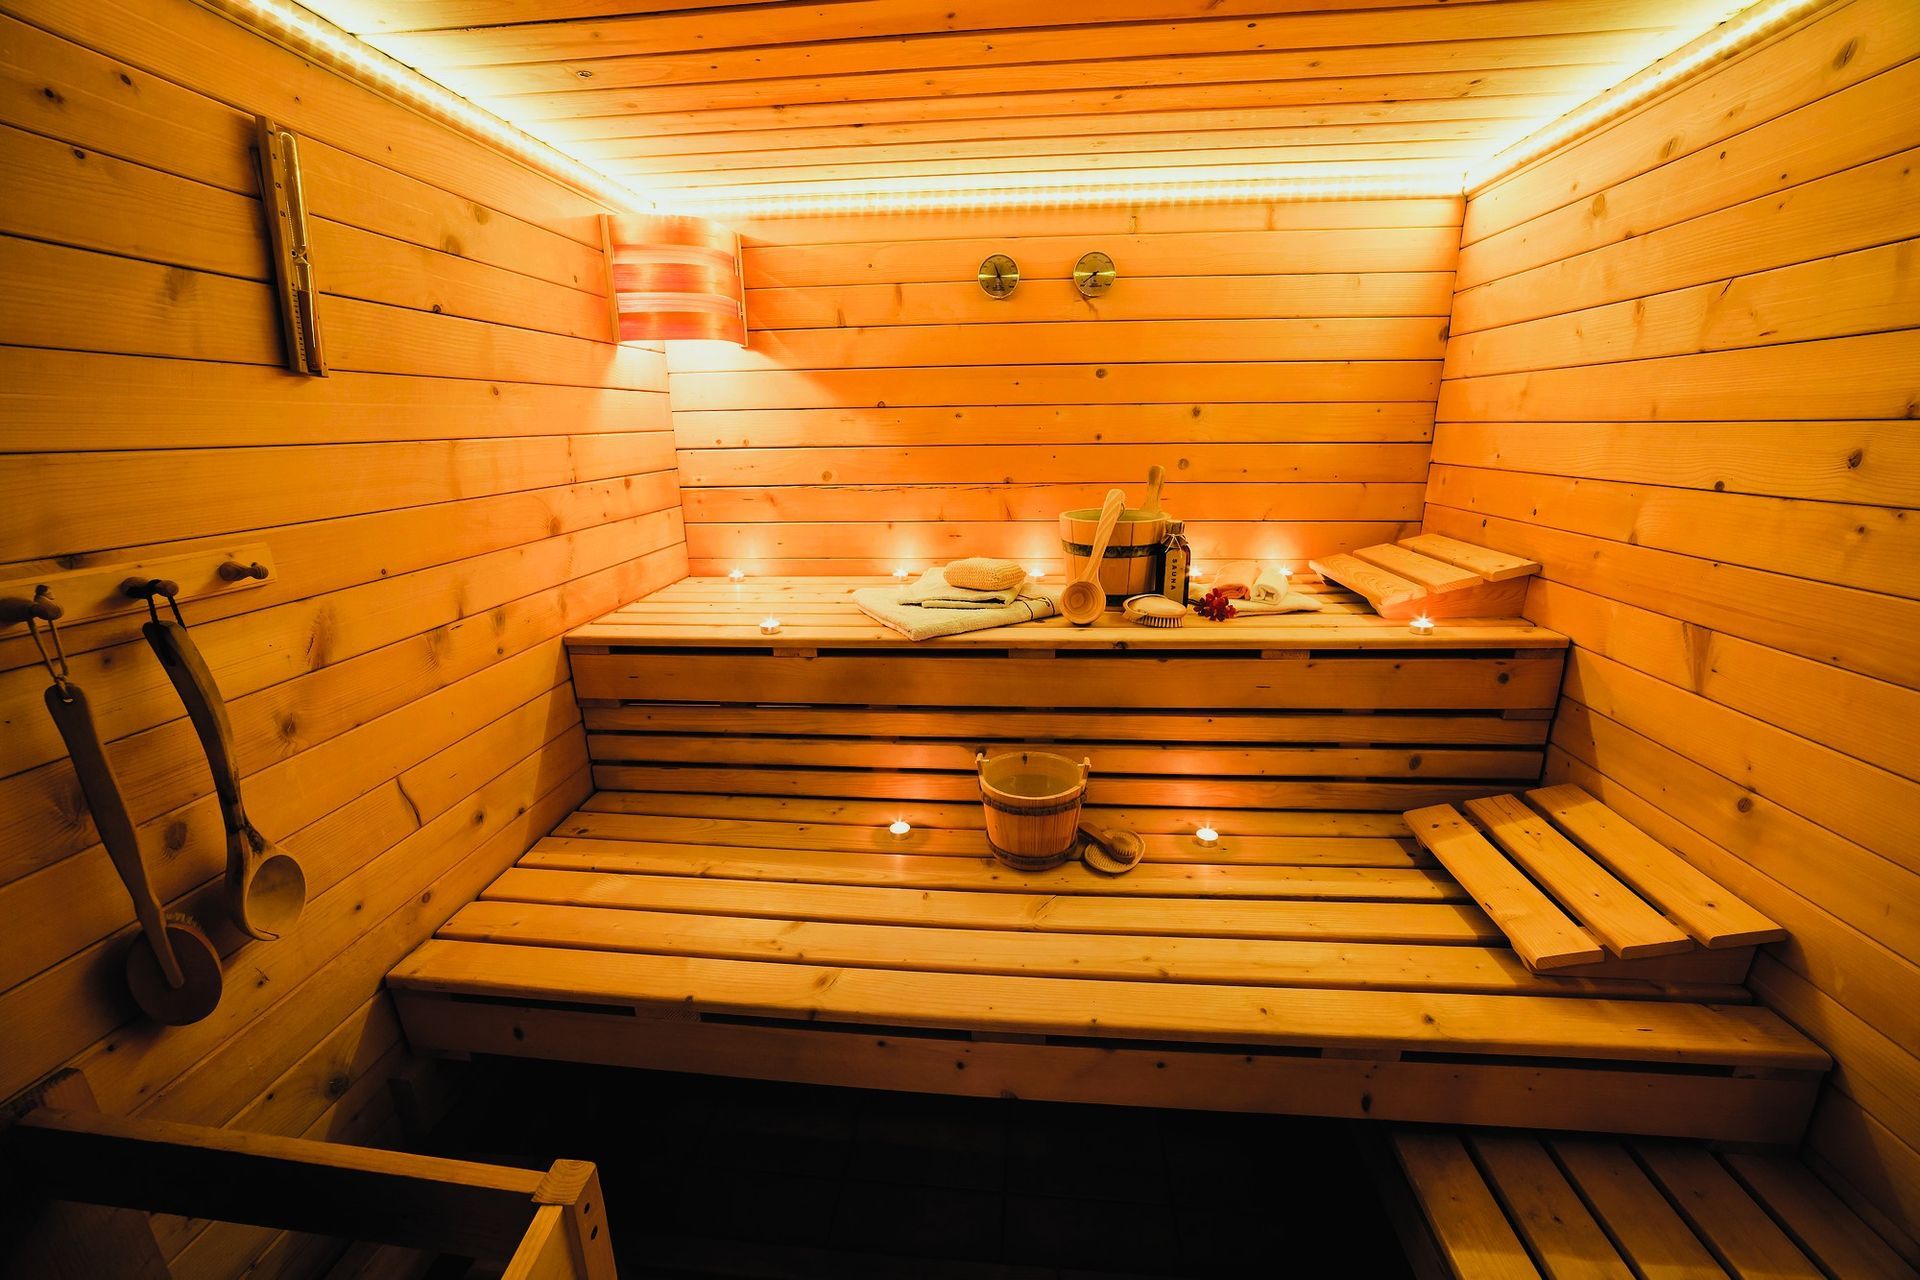
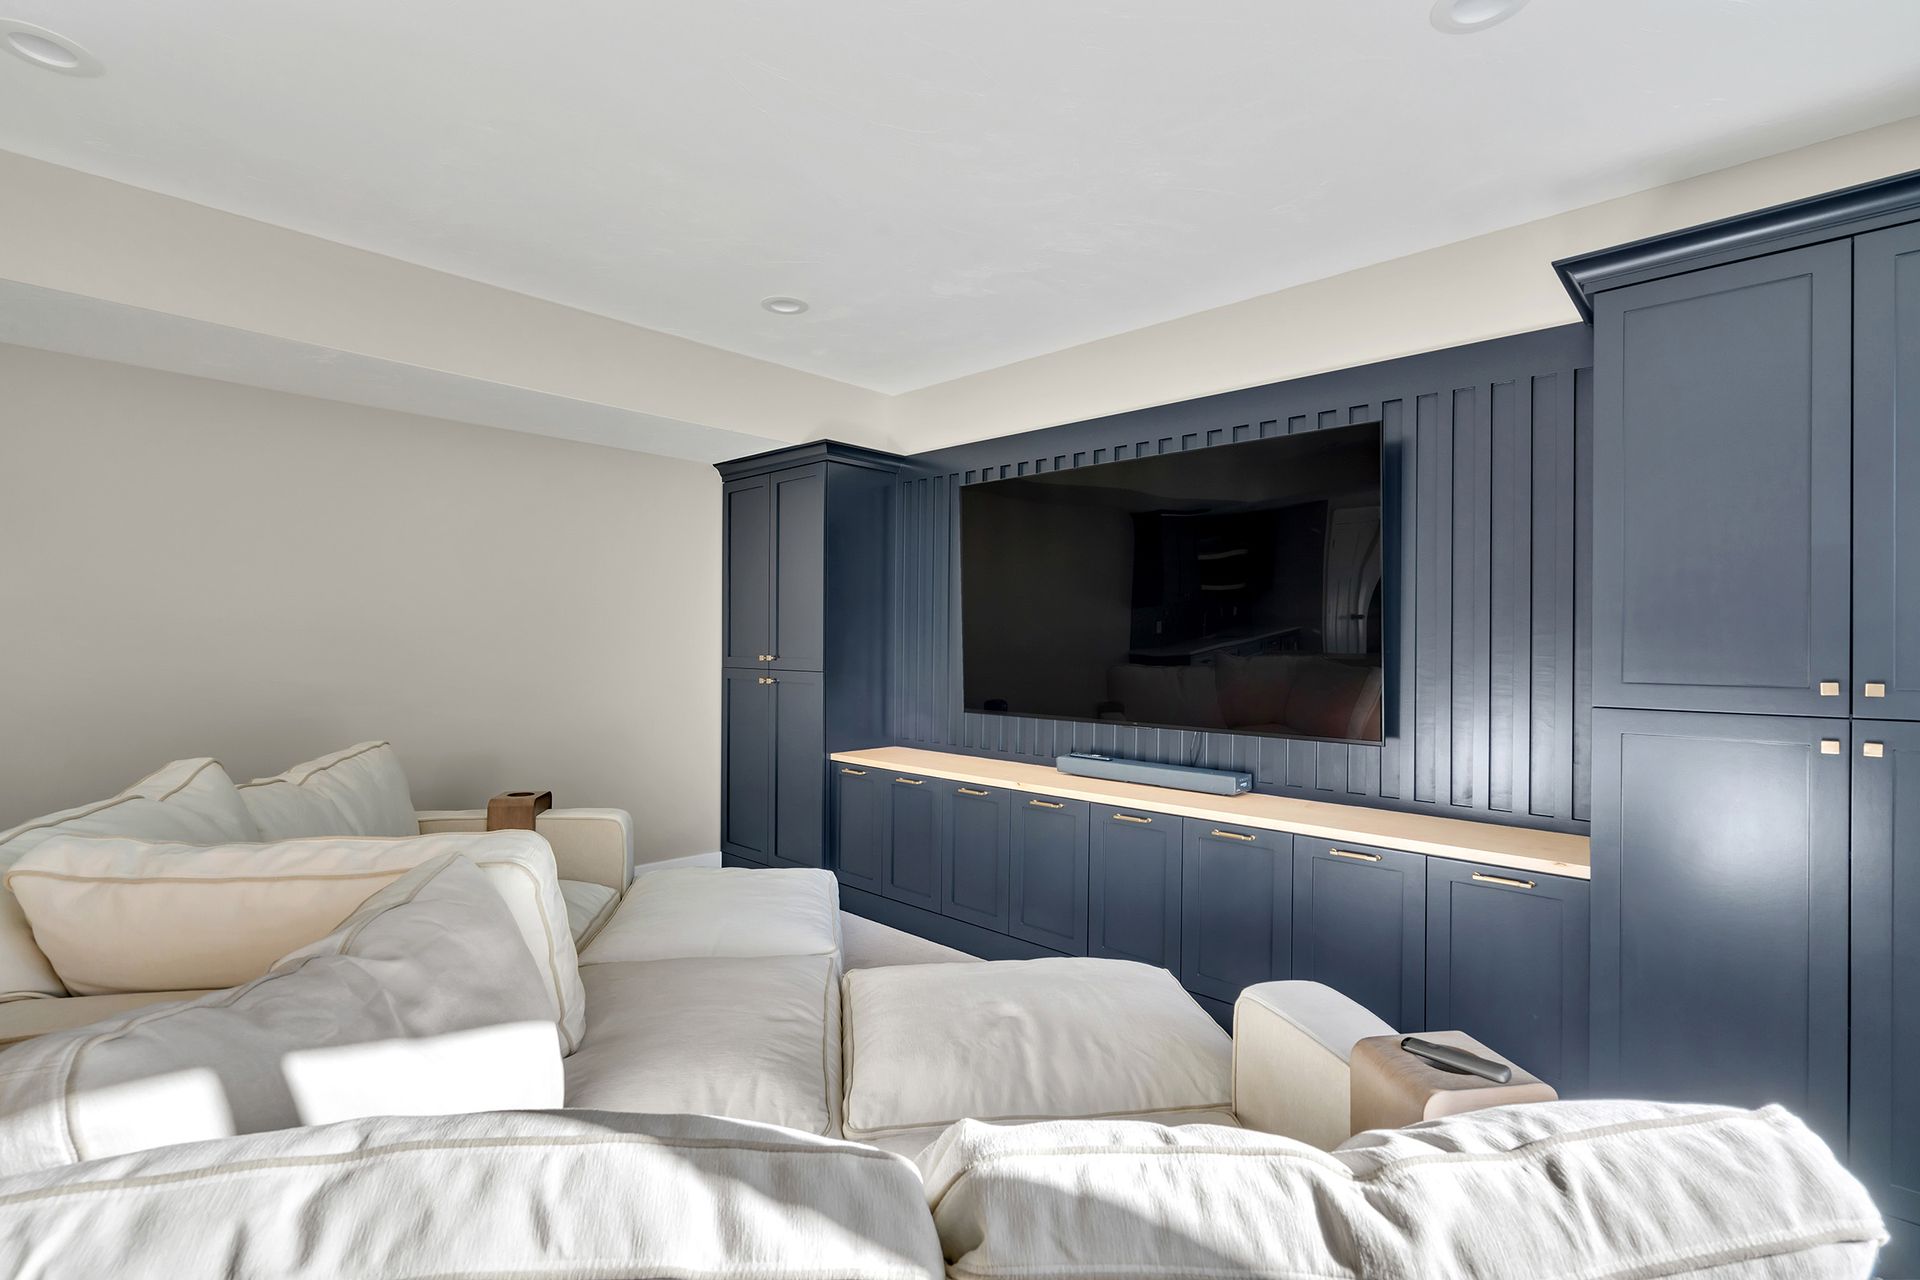
Start Your Renovation the Right Way
Waterproofing isn’t just an add-on—it’s the backbone of any great basement renovation. Taking care of leaks, improving drainage, and managing moisture upfront means you’re safeguarding your investment before issues pop up. A dry, well-sealed basement lets you relax, knowing your new space will stay cozy, safe, and hassle-free for years to come.
Looking for expert help? Grand Rapids Basement Pros is here for you! Whether you’re tackling a big renovation or just need a dry, secure basement, we’ve got your back.
Reach out today and let’s get your project started off right!